Advanced Modding – Buildings
Capitalism Lab supports user modifications of specific buildings.
Under the folder MOD_Kit\Images, you will find the following folders related to buildings:
- Buildings
- Buildings_Icons
How to Add a New Building Image
Here are the steps:
1) Copy the subfolder “Apart4” from the “Buildings” folder to a new subfolder.
For example, you can copy the subfolder “Apart4” to a new folder called
“Apart5” at MOD_Kit\Images\Buildings\Apart5.
2) Open the building folder that you have just copied to, and you will find the following subfolders and files:
- “L” folder (large – the original size)
- “M” folder (medium – the image size is 50% of that in the “L” folder)
- “S” folder (small – the image size is 50% of that in the “M” folder)
- FILELIST.TXT file
- PACK.BAT – batch processing file
The 3 different zoom levels of building images are placed in the “L”, “M” and “S” folders respectively. You can use an image editing tool like Paint.NET to make small and medium-sized versions of your images and save them to the “M” and “S” folders. Below are the exact steps for doing so:
- Resize the original building image to 50% using an image editing tool like Paint.net and save the resulting file into the “M” folder.
- Further reducing the size of that image by another 50% and save it to the “S” folder.
When you modify the image files or create new ones to replace the existing ones, please make sure that the new image files conform to the following specifications:
a) The file must be in PNG 32 bit format (24 bits of RGB values + 8 bits of Alpha channel).
b) The size of the image cannot exceed 1024×768.
c) The background should be defined in the Alpha channel. (If you are not familiar with the alpha channel, you may read this introductory article: http://asktimgrey.com/2017/11/27/what-is-an-alpha-channel/)
If you are looking for an image editor capable of handling alpha channel, we recommend Paint.Net, which can be downloaded for free from: https://www.getpaint.net/
You could find articles about how to create transparent background using Paint.net by searching on the Internet with keywords like “how to create transparent images in paint.net”.
d) The base of the building must be centered on the PNG image. Please see existing buildings for reference. You may use the below grid image as an overlay for positioning your building. For example, if the size of your building is 2×2, you can place your building on the innermost 2×2 tiles of the grid. If it is 3×3, you can place it on the innermost 3×3 tiles. (An area of 3×3 tiles encompasses the innermost 2×2 tiles, and the surrounding area highlighted in a mixture of red, blue and black colors.)

e) If the building is animated, the image files of the animation must be in alphabetical order.
f) If the building is animated, the number of individual image files in each of the “L’, “M” and “S” folders must be the same.
g) If the building is not animated, there should be only a single file in each of the “L’, “M” and “S” folders.
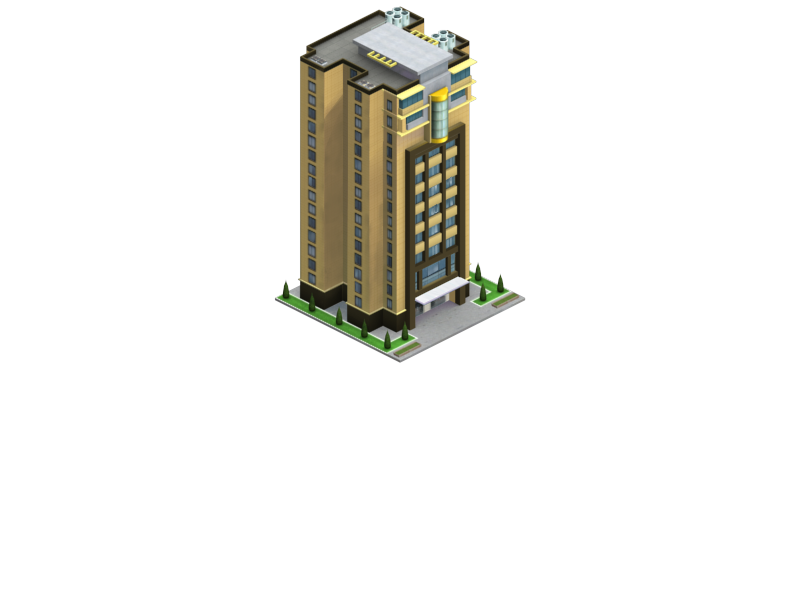
For example, below is the image file Apart4_1.PNG in the \MOD_kit\Images\Buildings\Apart4\L folder:
3) When you have finished modifying the building images, edit PACK.BAT using a text editor like Notepad and change the output file name.
The default content of PACK.BAT is as follows:
..\..\..\MakeSprite FILELIST.TXT ..\<output file name.SPR>
In this example, you have modified the Apartment 4 building and the building code for it is “Apart4“. So you have to change the text to the following:
..\..\..\MakeSprite FILELIST.TXT ..\Apart4.SPR
4) Now run the modified PACK.BAT file to compile the PNG files into a sprite file with .SPR file extension.
e.g. Run \Mod_Kit\Images\Buildings\Apart4\PACK.BAT to produce Apart4.SPR
5) Go back to the building group folder Mod_Kit\Images\Buildings and run PACK.BAT to build BUILDING.RES which will comprise of all customized building files.
i.e. Run \Mod_Kit\Images\Buildings\PACK.BAT to build BUILDINGS.RES
6) Go to the Mod_kit’s root folder and run PACK.BAT to build a new MOD resource file.
i.e. Run \Mod_Kit\PACK.BAT to build CAPMOD.RES
How to update the Building Icon file
1) When you have modified the building image file, you may want to update the building’s icon file as well.
You can find building icon files under the folder \MOD_kit\Images\Building_Icons. Here are the specifications of the building icon files:
- PNG 24 bit format (24 bits for RGB values only, no Alpha channel)
- Size: 60×60 pixels
Below is an example of the Apartment 4 icon:

2) Go to the folder Mod_Kit\Images\Buildings_Icons and run PACK.BAT to build BUILDING_ICONS.RES.
3) Go to the Mod_kit’s root folder and run PACK.BAT to build a new MOD resource file.
Download Classic Capitalism 2 Buildings
If you want to bring a nostalgic vibe by adding the classic Capitalism 2 buildings or repurpose them for different building types, you can download the Capitalism 2 building image files from the link below.
Download Classic Capitalism 2 BuildingsModifying Building Images of Existing Buildings in a Mod
If you’d like to modify the building images of existing building types in the game instead of adding new ones, follow the steps below:
Download the List of Building CodesThis file allows you to modify the images of any existing buildings in your mod.
Steps:
-
- Find the Building Code
Download the provided Excel file and locate theFBUILDcode for the building you want to modify.
- Find the Building Code
-
- Add Images to the Correct Folder
Place the images of the building in your\Mod_Kit\Images\Buildingsfolder.
Create a subfolder named after the building’sFBUILDcode.
- Add Images to the Correct Folder
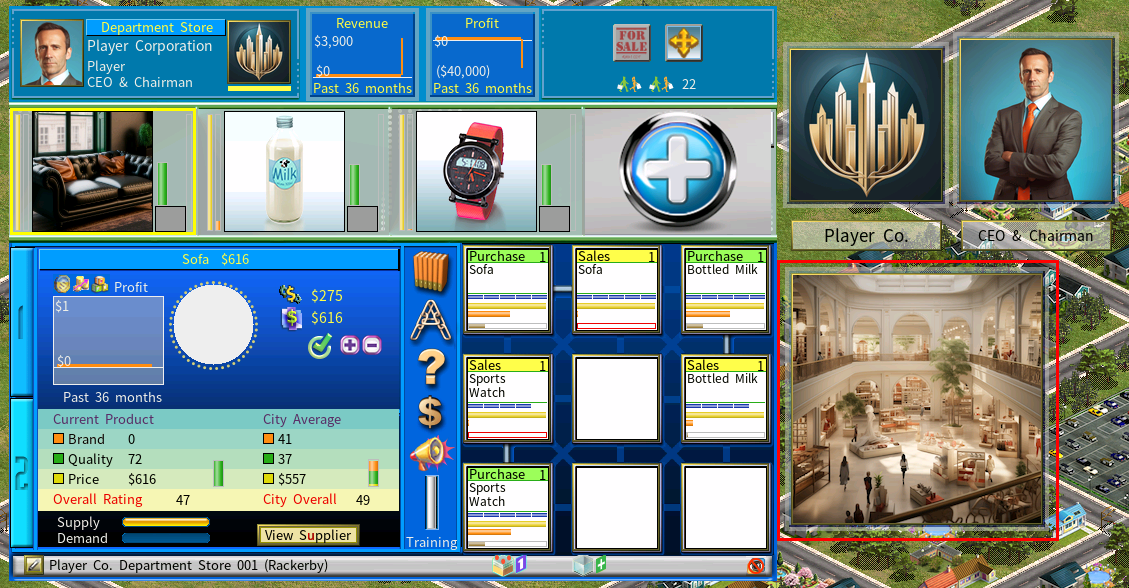
- Example
To replace the building image for the department store:- Find the code
DEPARTMEin the Excel file. - Create a subfolder named
DEPARTMEin\Mod_Kit\Images\Buildings. - Add a building sprite file named
DEPARTME.SPRto this folder.
- Find the code
Important: There is no need to add a record for this existing building in your \Mod_kit\Data\Buildings.DBF.
How to Add Firm Images
You can add firm images for the new firm buildings you created or change the firm images of existing images. For the details, please see the Firm Images Modding guide.